cnc workflow


Frames

just a placeholder

I wanted to make a small frame that could aggregate into a field of differentiated frames.

just a placeholder

The aperture in each frame is off center and of different proportions from the exterior perimeter of the frame and so the surves are pulled and twisted to make up the difference between the two Shapes.

just a placeholder

The aggregation and "clipping together" strategy of interlocking tabs. In the end it is next to impossible for a group of four frames to aggregate into a square configuration.


Foam Mold

just a placeholder

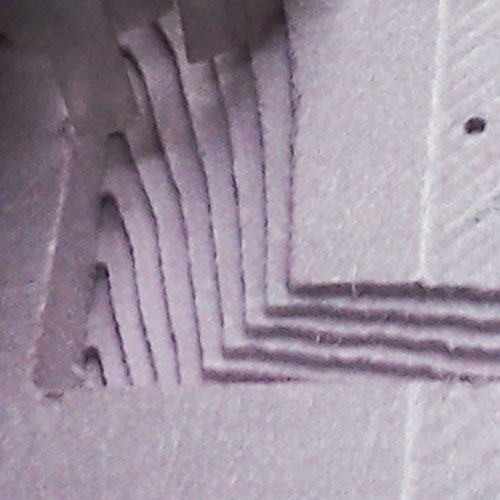
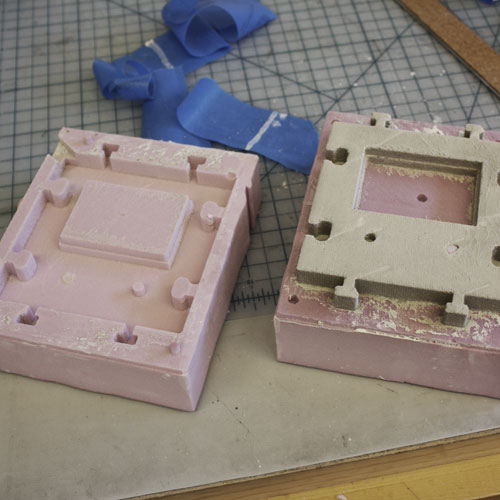
After some initial troubles with the table-top mill, I decided to scale the part by 2 and try milling it out of foam on the shopbot CNC router. This image shows the surfaces before their finishing pass.

just a placeholder

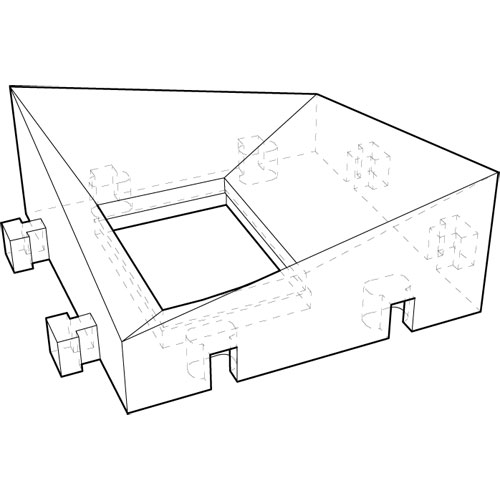
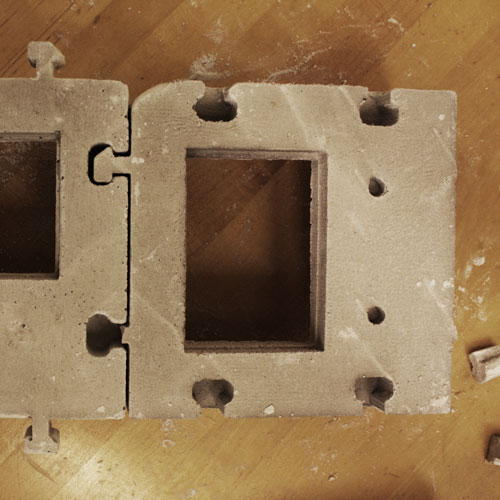
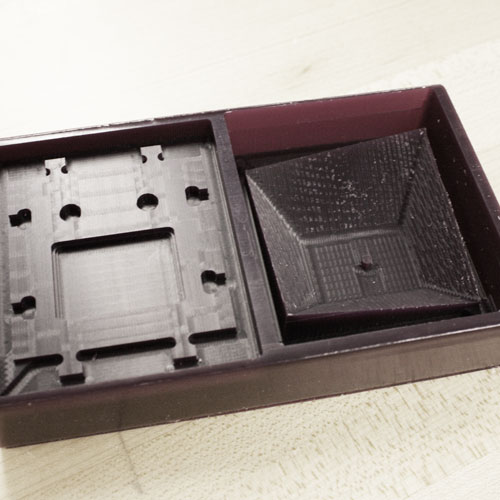
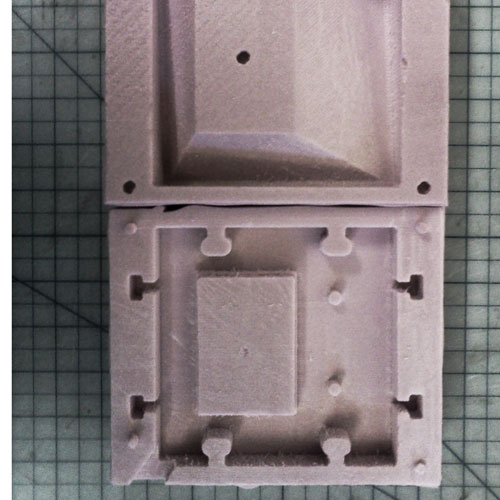
Final Molds. For the foam process, I milled the mold directly out of the foam. Unlike the wax process where we mill a positive, cast a flexible mold, and then use the flexible mold for all future casting.

just a placeholder

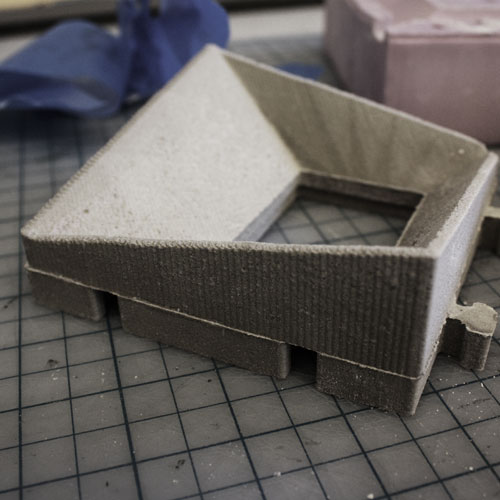
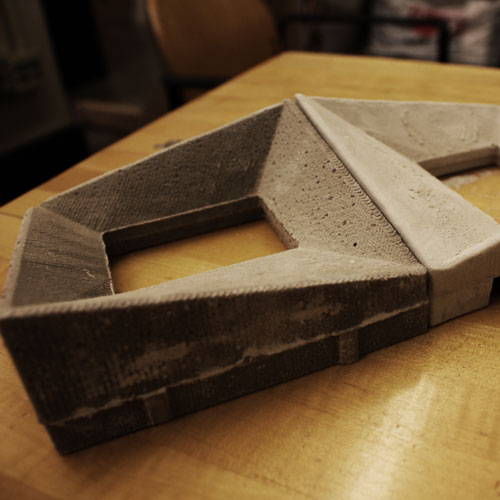
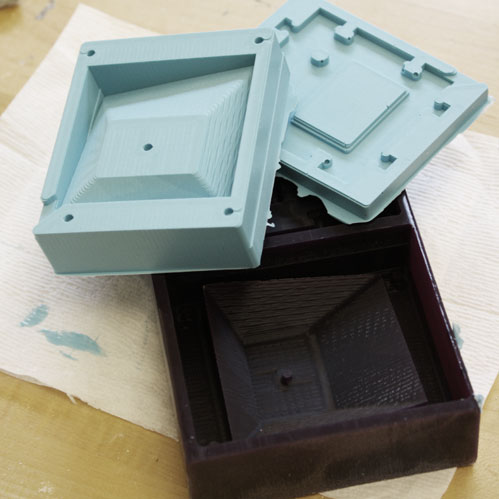
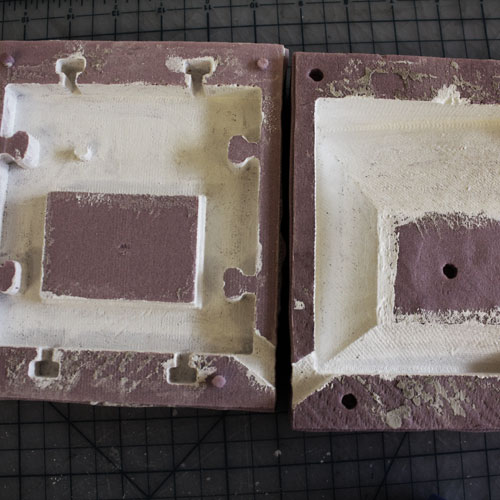
For the first cast, I used a releasing agent, but no gesso and it was very hard to remove the mold.

just a placeholder

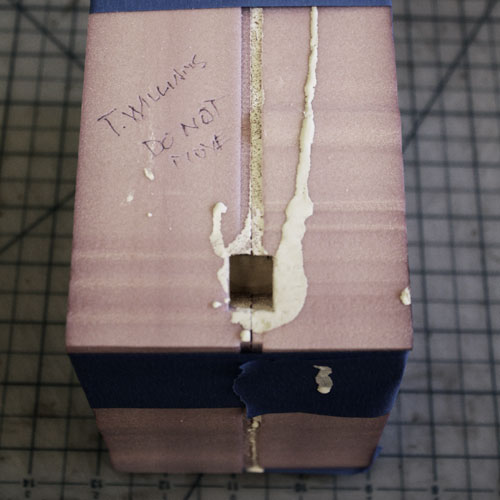
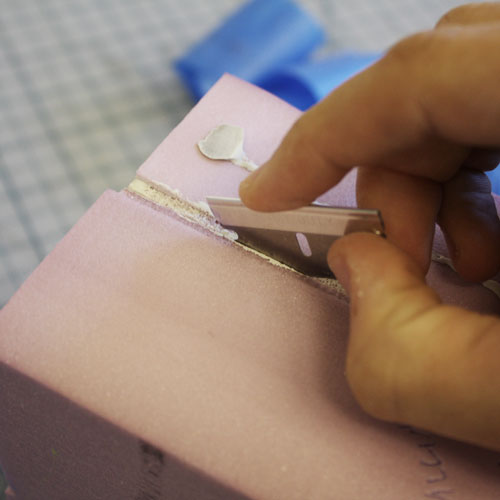
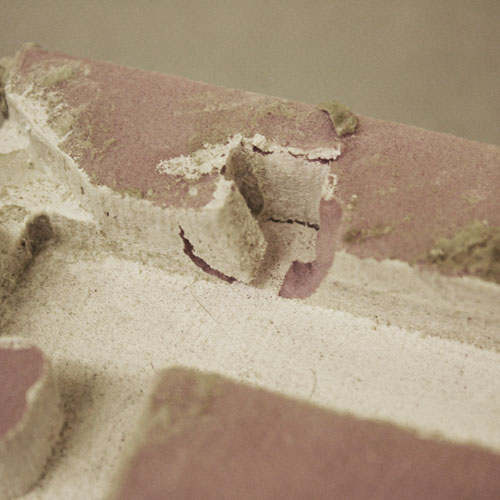
It took me about 20 minutes to get the mold off the part. I had to resort to prying with a razor blade. This damaged the mold some, but in the end not too bad.

just a placeholder

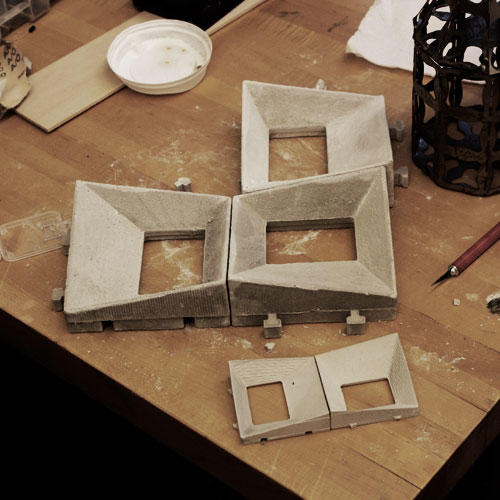
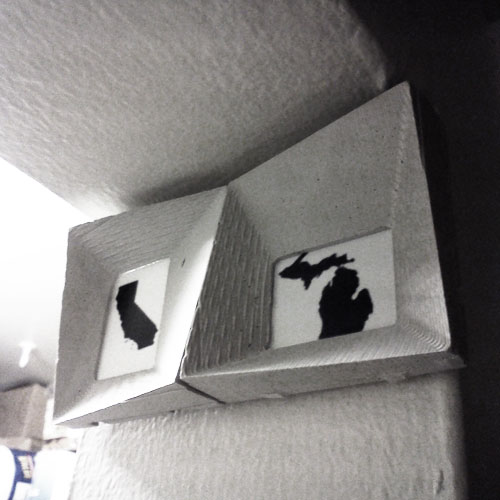
One of the nail holes in the back of the part was still filled with the foam from the mold when I finally pulled it apart. A combination of a poor choice of geometry and a lack of an 
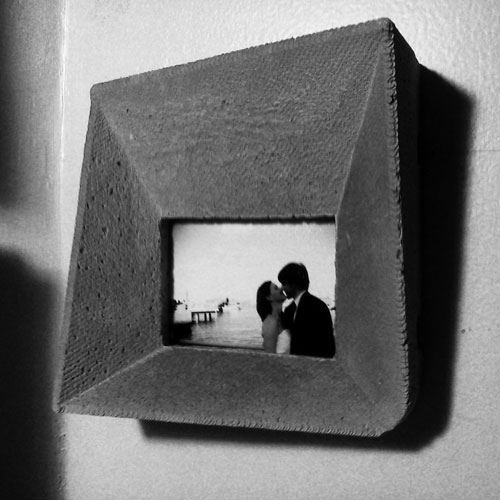
effective releasing strategy. This meant that the first piece I cast was the only one that would be able to hang from the wall.

just a placeholder

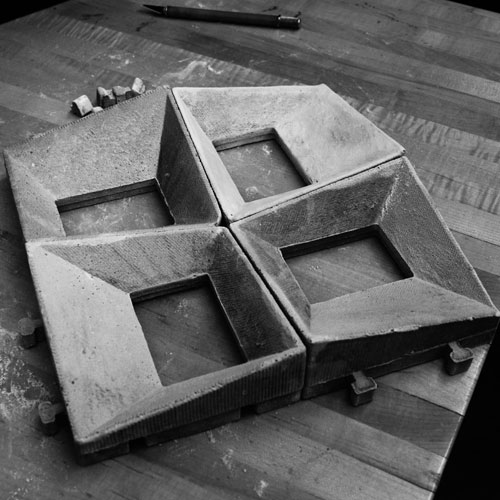
So, for the next pass, I gesso'd the mold AND used a spray releasing agent.

just a placeholder

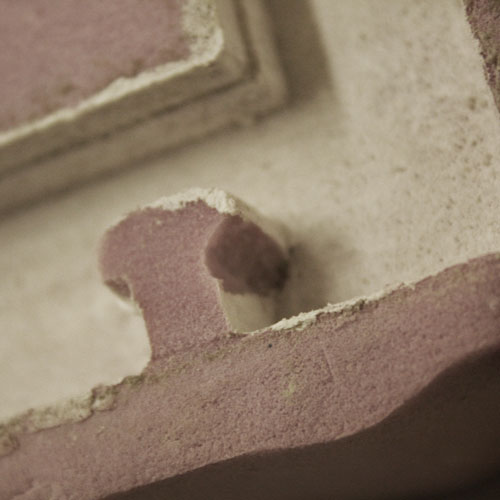
The gesso made a huge difference, but eventually the poor design of the part's geometry caused some irreparable damage to the foam. I managed to get four parts made before the mold failed.

just a placeholder

Guilty pleasure machine watching....

just a placeholder

This is the first cast frame. The tabs and slots did not have enough tolerance and most of them didn't fit or broke off in the slotting together process.

just a placeholder

This was the general idea though.

just a placeholder

Because of the brittleness of the Hydra-stone that I casted with, this configuration is only possible because most of the tabs have broken off. Maybe casting out of rubber would have been a better plan.

just a placeholder

Same part, different orientation.

just a placeholder

Fateful tabbing.

just a placeholder

The frame fits wallet sized prints.


Wax mold

just a placeholder

After a lot of troubleshooting I was able to use the Modela mill to make the originally intended part that was designed to fit prints from a contact sheet. The final glich was that the left half of the mold in the picture scaled itself down in the Z. I have a hunch that it is because the registration marks that were going to be drilled out as holes at the bottom of the positive where smaller by 1/32" than the diameter of the bit I was using (1/8"). So the mill scaled the fill 5/8" depth of that positive down to 1/2", but then still wasn't able to cut the registration marks at all. So in the end I had a shallow bottom half to the part.

just a placeholder

You can make out the air bubbles that I couldn't shake out of the shallow mold (mold at the bottom of the pile here). Having these pockets in the mold slots really made it hard for the tabbing to work.

just a placeholder

Frame and Frame jr.

just a placeholder

My well intentioned but typically poor executed tabbing system. you can see the how the air bubbles complicated the casting. These tabs were designed too small, but when that half of the mold became scaled, they were even weaker. A lot of them broke off.

just a placeholder

Two of them worked out though.

just a placeholder

The state of Michigan has more coastline than the state of California. But they both fit inside these frames (picture not to scale).

back to main page